Gallery

Finding motivation

Happy Friday everyone! Sorry I haven’t posted anything for awhile. I have been in one of those ‘can’t find motivation’ moods. It’s not that I haven’t been taking photo’s, its the fact that when I do take them, I don’t seem to be in the right frame of mind so then I don’t feel like they are any good. Anyone else feel like that sometimes?
With saying all that, I went for a walk yesterday to try get some inspiration again. That helps me sometimes, just going out for a walk amongst nature, forgetting all my problems. I only took one lens and set myself an hour. Giving yourself a challenge helps too. Something to aim for. Anyway, I took a walk down on a nature trail about 5 minutes away from my front door. It’s always nice along there. It feels like you are in the middle of a forest, especially in the summer time when the trees are in full bloom.
It was just really nice to get out the house even if it was for an hour. I find if I am cooped up indoors too long I get a little claustrophobic.

IMG_3769.jpg

After yesterdays walk it made me feel a little more inspired today.
This morning the sun came out for a little while and was shining so beautifully through the window onto my orchids and poinsettia plant , so I thought that I would capture it.
I took a spray bottle and sprayed some water onto the petals for some effect.
I used my 100mm macro lens and I also used my on camera speedlight with a flash diffuser to give it a little softer light. My settings were ISO 100, F4.0 and shutter 1/25 and 1/100.

For the poinsettia plant, my settings were F4.0 ISO 100 and shutter was 1/60 and 1/160


So that was my little shoot for today. It really does amaze me how many things in the home make great subjects. From yesterdays little walk to today’s little shoot, it has put me in a better frame of mind today. I hope you enjoyed this post, thanks for stopping by and I will catch you next time 🙂

Where it all began

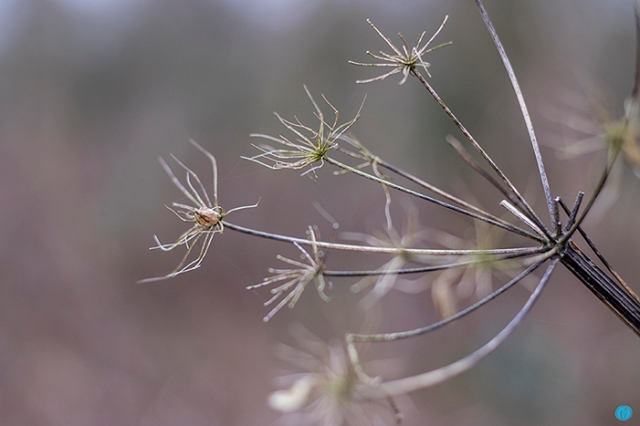
Wow, it’s such a gloomy day outside. Don’t you find some days everything seems dead, like it’s just one boring colour everywhere you look?! I don’t know about you but I have to have some sort of bright colour in my life. I’m a very vibrant person and when it’s grey, dark and wet outside, I struggle to stay cheery :-/
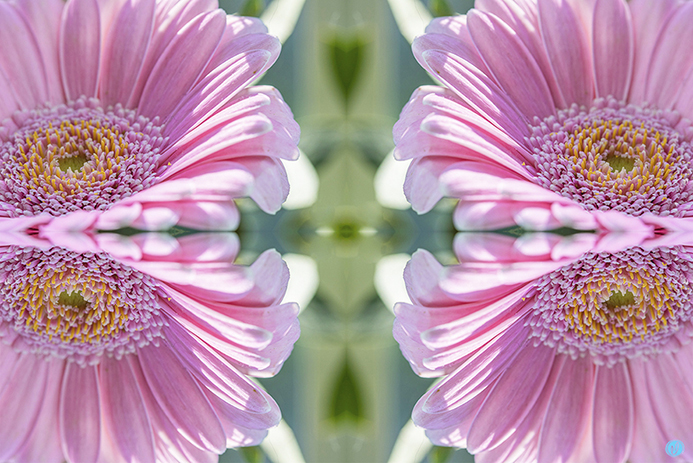
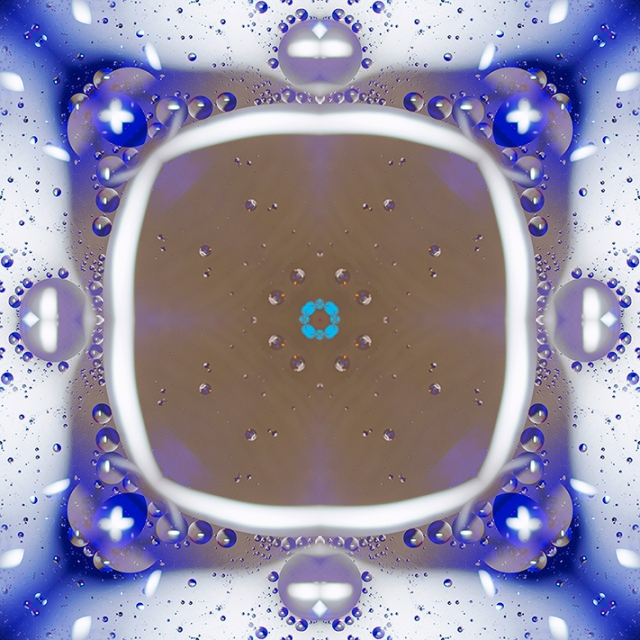
I played around with one of my images yesterday and wanted to add it to this post just purely because its colourful and its of flowers…. two of my most favourite things.IMG_6666 copy.jpg

So back to the main ingredient of my post. Today I would like to expand into my ‘about me’ category. I have given you all a brief little description of where I’m from, what I do etc, however, seeing as though I want to start putting more of an effort into my blogging, I would like to tell you more about where my love of photography started and to get to know all of you a little bit better too.

My love for photography all started when I was very young. I never had my own camera, I only had the one that was on my phone. Every time it was time for me to upgrade my mobile, I only went by the one that had the best camera ability as that’s pretty much all I used my phone for. I come from a family of seven, so money was always tight.
I used to take photo’s of EVERYTHING! Thinking back now, it makes me wonder if that’s why I love trying out new things and photography practically anything.

I got my first ever DSLR back in 2014 which was and still is the canon 750d with a kit lens of 18-55mm lens and I also bought a 50mm prime lens to go with it. I was just so excited to finally have a camera of my very own!
At the time I purchased my camera, I was a full time manageress in a coffee shop working about a 45 hour week. So trying to get the time to practice getting to know my camera and taking photo’s was a real struggle. I plodded on for a few months, asking local businesses if they wanted any free product shots doing so they could share through social media etc. I had a few responses and great feedback which really gave my confidence a kick.
Doing all of this really started up a fire in me and I no longer wanted to do my full time job anymore. I knew that I couldn’t just leave a full time income and go to nothing. I had no regular clients, hardly any experience and no branding whatsoever. I continued with my job and on my days off I would try do as many free shoots as possible to get the experience and to get my name out there. I came up with my branding and got myself a photography profile on social media and had a website done. It was all slowly starting to come together.
There were a lot of things happening at work which was making me very unhappy and stressed. It had been going on for quite some time now so after long talks with my husband, I handed my notice in after 3 years of working for this company.
Thankfully, I had another job offer so I wasn’t left without any work. This was just a 3 month contract though. I’m kind of rambling now so I’ll get back to the photography stuff. With every spare minute I had, I would either be out taking photo’s for my own personal accord or I would be doing the odd product shoot.
I’ve been very lucky with all the help from the local businesses as through them, I’ve had a few of my photo’s printed in the local lifestyle magazine and used as the front covers for some of them too. I had one of them printed today in fact.
Some days I lack all the confidence in my work and think will I ever be good enough to make this my full time business or am I just kidding myself?!

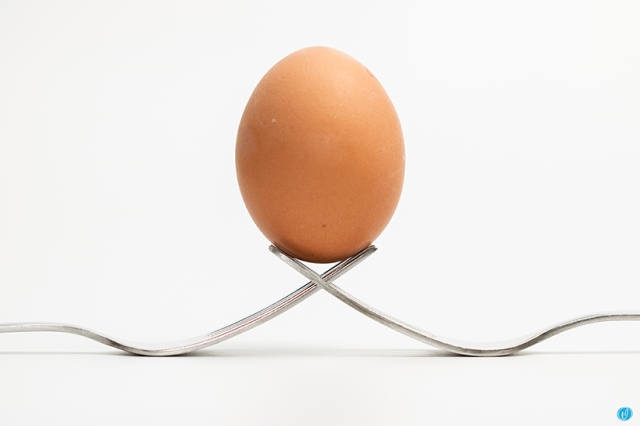
I try my hardest to be as creative with my photography as possible and am always trying to better myself. I also think that for how long I’ve had my camera, teaching myself all the photography basics, that I’m grateful to have achieved what I have in this short space of time. I guess what this post is really about is being grateful for what you have at that moment. Working towards what you want can never be time wasted.

That’s just a little bit more into my background. Please feel so share your experiences, I’d love to know where it all started for you and where you are in your life at this moment.
Thanks for stopping by and I’ll catch you next time 🙂

Gallery

Macro around the home

Happy Sunday fellow bloggers! I hope where ever you are in the World, you have had a great weekend with some lovely weather. It’s rather cold and grey here in Nottinghamshire so I thought I would type up a little post of one of my photo projects that I did last week.

From time to time I like to set up my make shift studio at home and shoot a few product shots. On this occasion I wanted to use things from around my kitchen. I had seen a few ideas on Pinterest and wanted to try some out. For this particular idea it was macro shots with cutlery so I chose forks as my choice of subject. This is the link to the page where I got some of my inspiration from – Macro Photography.

For my set up I had two photoSEL standing lights, one 4-in-1 reflector, an on camera speedlight, 100mm macro lens, one tabletop white backdrop and whatever I used as my subject choice.
I usually have my setup in my dining room which I use my dining table pushed up against the french doors as there is great natural light coming through the doors as well as the windows. I have one standing light on each side of the table which I position quite low to the height of the table and also depending on how bright the natural light is.
I lay my backdrop half on the table and half weighted down on the window ledge so that its kind of balancing against the wall and onto the table.  I position my reflector correctly depending on the light and where I place my subject and that is about the main bulk of my studio set up. I am then ready to shoot away.

With this particular shot, I used two forks either side of each other and the prongs interlinking so it made a little ledge in the middle to which I wanted to balance an egg.
I’ve seen this done so many times and it looked great so I wanted to give it a go.
My camera settings for this shot was f3.5, ISO 100, shutter 1/60, my speedlight setting was 1/16. This was the final result after edit.
IMG_3689.jpg
For my next shot I used four forks, three of which I tried to balance on top of one another but on the back side of them which is very difficult actually and had to have very steady hands. The forth fork was placed in front of the other three on the up side.
My camera settings for this was f3.5 ISO 100, shutter 1/200 and speedlight 1/16.
IMG_3686.jpg
Nothing really fancy with that last shot, however, it was the lines and angles that I thought looked interesting.

So with my final shot, it’s a little bit different. Just a single fork with this and I also used a reflective, crinkled card which was red and laid the fork on its side facing the lights so that it would get a nice reflection from both the lights and the reflective card.
My camera settings were f3.5, ISO 100, shutter 1/60 and speedlight 1/16. Not a lot to this photo as you can see, however, I loved how the red gave this image a completely different feel and look. This was the final edit.
fork.jpg

There you are, simple shots but quite effective in their own way.
I hope you enjoyed this little project and do give it a try, its quite fun and enjoyable and the bonus is that you’re practising and learning at the same time.

I’ll catch you all next time 🙂

Gallery

Mirrored effect

Yay for Friday!!!!  I hope you guys have had a great week and looking forward to the weekend? I know I am 🙂
So for this week I haven’t really been taking that many more photo’s apart from a few product shots that I did in my make shift studio at home, however, this post is about another little challenge that I got round to trying out. It’s nothing amazing beyond any stretch of imagination. It was just so I could see how it was done and if I could do anything with it. What I wanted to try and learn was doing the ‘mirrored’ effect with your image in photoshop. I googled on how to do this and found such an easy, well explained article which went through it with you step by step. Here is the link – Flip, rotate and mirror.
I tried this out yesterday on a old image that I took a couple of days ago of the oil and water mixture. My camera settings for this were f3.5, ISO 100 and shutter speed of 1/160.IMG_3720.jpg
I took this picture into photoshop and followed the instructions on how to apply the mirror effect. After trying it a couple of times to get the right look, this is was the result.merging layers bubbles.jpg
It was so much fun, trying to get different rotation and effects not to mention all the different blend modes that you could work with. I tried it again this morning with some fairly newish images.I shall give you the before and after just so you can see the difference.


As you can see, complete transformation from just and image to artistic patterns.
I am quite in love with this now and I can see me doing more of these.
As I said at the start of my post, it’s nothing amazingly new. I bet all of you on here already knew how to do this. I was quite excited on learning this and loved the results.
Well that’s my little creative post for this week. Thanks for stopping by and I will catch you next time 🙂

Gallery

Abstract

This morning was pretty fun. For quite some time now I’ve been wanting to take some macro shots of the oil and water combination and I’ve never taken the time to try it out…until this morning 🙂
Last night I was on Instagram as usual when I had a notification for a new follower. So I checked out the profile as you normally would and so glad I did because he had taken some shots of this combination in a way that MADE me want to try it out today. This is why I love social media and the internet. You just never know when you will get that next bit of inspiration.

Anyway, this morning I did a little more research and watched a few videos at the process behind and around this little project. This is a list of the things you need.

  1. Glass plate or bowl
  2. Two chairs
  3. Coloured paper
  4. Oil, water and washing up liquid
  5. Lamp

If you find the best spot in your house which has a great natural light source and position your two chairs both either side of each other leaving enough room to rest your plate or bowl, still seeing the floor below it. Then place your coloured paper on the floor underneath it with your lamp shining on the paper to give it a reflection.
Fill your bowl/plate with water, then squeeze a little washing up liquid in then a few drops of oil. You’ll see that the oil rests on the top whilst the washing up liquid sinks straight away. You are now ready to start photographing. If you find that the oil drops have started to rest on the side of your bowl, just gently give the water a slight stir.

Whilst I played around with this and tried a few other things….. here were my results.

I used my 100mm macro lens and my settings were as follows: ISO 100, f6.3, shutter speed between 1/25 and 1/30, I also used a on camera speedlight which was on 1/16.
As you can see, whatever you wish to use as the background, it will come through very nicely. I hope you enjoyed this little read and please do try it out and let me know what you thought. It’s a good way of really focusing with your macro.

Have fun and I’ll catch you next time!